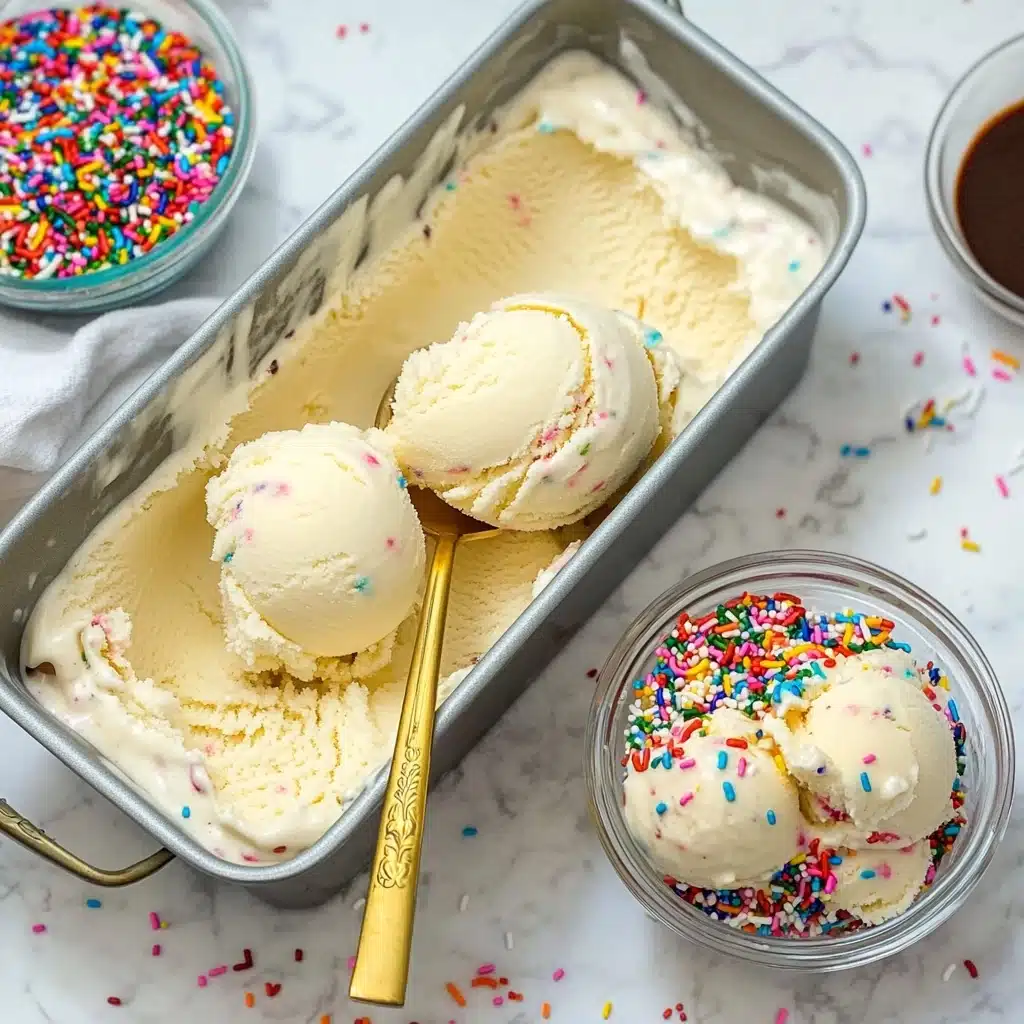
When summer’s begging for a homemade treat but you want all the joy with none of the fuss, my No Churn Vanilla Ice Cream swoops in to save the day. This creamy, dreamy dessert requires no fancy machines or tricky custards—just a big bowl, a few minutes of mixing, and a whole lot of anticipation while it chills to frosty perfection.
Why You’ll Love This Recipe
- Absolutely No Ice Cream Maker Needed: Whip up the creamiest vanilla ice cream right in your kitchen—no gadgets, no gizmos, just pure simplicity.
- Ultra-Luxe Creamy Texture: Thanks to a blend of heavy cream, cream cheese, and vanilla bean paste, you get a rich, scoopable treat with incredible depth of flavor.
- The Vanilla You Crave: Real vanilla bean paste ensures those gorgeous flecks and a bold, classic vanilla taste that puts store-bought versions to shame.
- Customizable for Every Mood: Start with this No Churn Vanilla Ice Cream as your base and swirl in your favorite mix-ins, sauces, or toppings for something totally your own!

Ingredients You’ll Need
With just a handful of essential ingredients, you’ll turn an everyday craving into a gourmet experience. Each one plays a starring role in making this No Churn Vanilla Ice Cream so smooth, luscious, and full of real vanilla flavor.
- Cold Heavy Cream: Whipped to stiff peaks, this is what gives the ice cream its body and cloud-like texture.
- Sweetened Condensed Milk: Adds natural sweetness and helps achieve a soft, scoopable consistency without churning.
- Evaporated Milk: Boosts the creamy mouthfeel and enhances the base’s richness without making it too dense.
- Full-Fat Cream Cheese (softened): The secret ingredient for a hint of tang and outrageously smooth texture—don’t skip this!
- Vanilla Bean Paste: Provides those beautiful black vanilla specks and a more intense, fragrant flavor than extract.
- Light Corn Syrup: Prevents iciness and helps keep your No Churn Vanilla Ice Cream silky even after days in the freezer.
- Fine Sea Salt: Just a pinch brings all the flavors into perfect balance—never underestimate a little salt in dessert.
Variations
This No Churn Vanilla Ice Cream is meant to be a starting point for your creativity! It’s a cinch to tweak for dietary swaps or turn into your dream dessert with endless add-ins and flavors—so go wild and make it yours.
- Cookies & Cream: Fold in crushed chocolate sandwich cookies before freezing for a crowd-pleasing, nostalgic twist.
- Berry Swirl: Ripple in homemade (or store-bought) raspberry or strawberry sauce for a fruity pop that looks as gorgeous as it tastes.
- Chocolate Chip Crunch: Add mini chocolate chips or chopped dark chocolate for texture and a hint of bitterness to balance the vanilla.
- Dairy-Free Version: Use coconut cream and vegan cream cheese, swap condensed milk for a plant-based version, and double the vanilla to let the tropical notes shine.
How to Make No Churn Vanilla Ice Cream
Step 1: Whip the Cream
Pour the cold heavy cream into a large mixing bowl. Using a hand mixer or stand mixer, beat until you get stiff, fluffy peaks. This takes just a few minutes but is what gives your No Churn Vanilla Ice Cream its signature smooth, airy texture—don’t stop until the cream holds perfect peaks!
Step 2: Prepare the Vanilla Base
In a separate bowl, whisk the softened cream cheese until it’s completely smooth and lump-free—this is key for a silky end result. Add the sweetened condensed milk, evaporated milk, vanilla bean paste, corn syrup, and salt. Continue whisking until the mixture is glossy and thoroughly combined.
Step 3: Fold It All Together
Gently fold the whipped cream into the vanilla base in 2–3 batches. Use a spatula with a light hand—think slow, soft motions. This preserves all those lovely air bubbles, meaning a fluffier No Churn Vanilla Ice Cream after freezing.
Step 4: Freeze and Dream
Pour your finished mixture into a loaf pan or airtight container. Smooth the top, press a piece of parchment or plastic wrap right onto the surface to prevent ice crystals, and cover tightly. Freeze for at least 6 hours (overnight is even better), then get ready for pure vanilla bliss!
Pro Tips for Making No Churn Vanilla Ice Cream
- The Super-Chill Secret: Make sure both your heavy cream and mixing bowl are straight-from-the-fridge cold for maximum volume and stability in your whipped cream.
- Lump-Free Cream Cheese: Take the time to really whisk the cream cheese until it’s totally smooth—this gentle step guarantees a velvety texture and eliminates pesky lumps.
- Don’t Rush the Freeze: As tempting as it is to sneak a scoop early, freezing for the full recommended time means perfectly set, scoopable No Churn Vanilla Ice Cream every single time.
- Scoop-Ready Trick: Let your ice cream sit at room temperature just 5–10 minutes before serving for the creamiest, easiest-to-scoop result.
How to Serve No Churn Vanilla Ice Cream
Garnishes
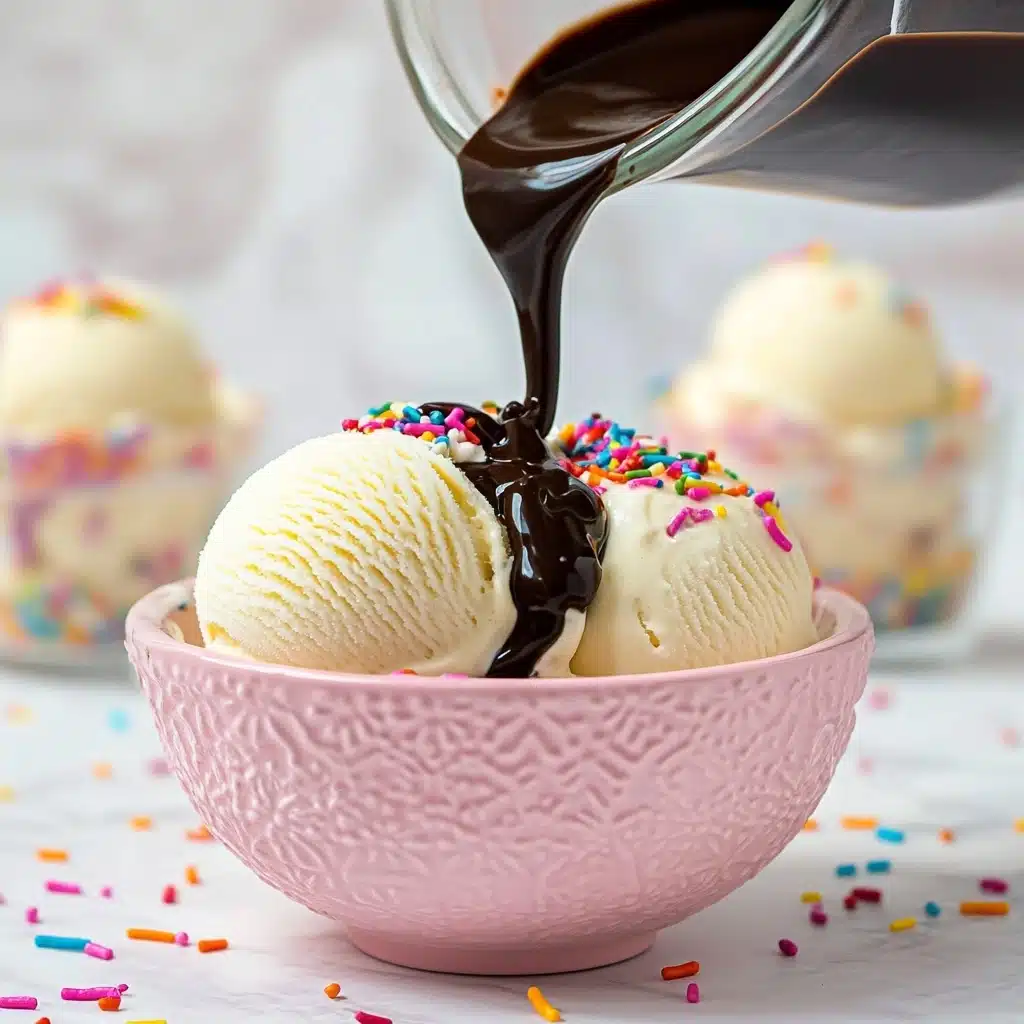
No Churn Vanilla Ice Cream looks so elegant with a few simple garnishes! Try a sprinkle of toasted nuts, a drizzle of chocolate or caramel sauce, or a dusting of crushed cookies for that bakery-worthy finish. Fresh mint leaves or vibrant summer berries also bring color and freshness to every bowl.
Side Dishes
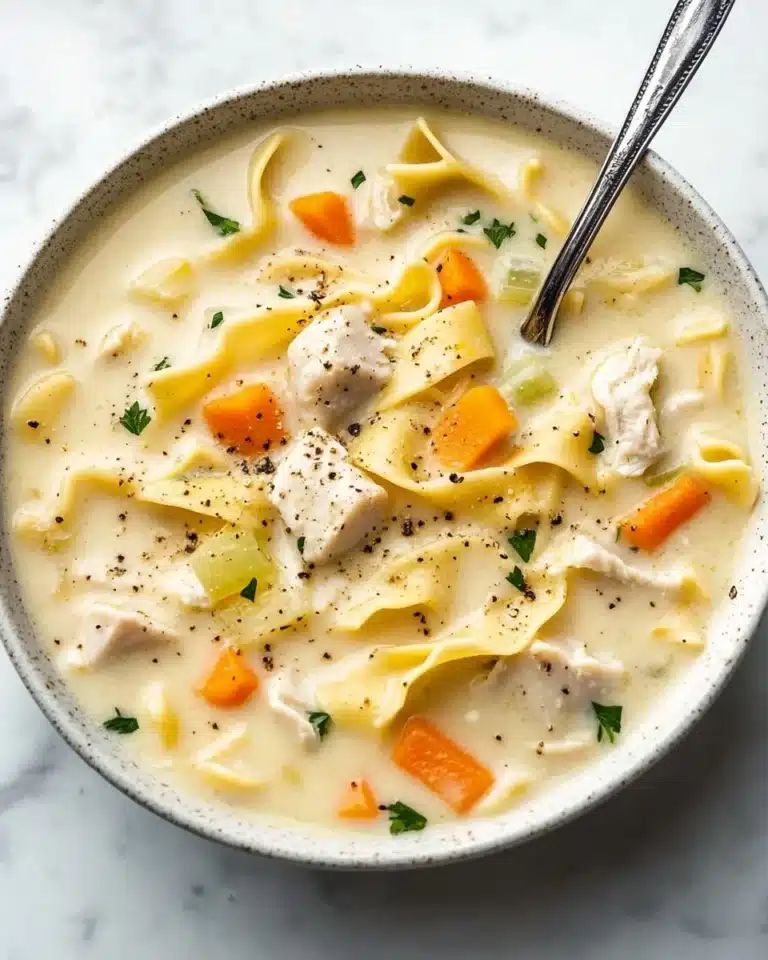
This ice cream is wonderful solo, but it’s also the ultimate partner for freshly baked fruit crisps, fudgy brownies, or warm apple pie. Serve a scoop alongside grilled peaches or on top of waffles for an indulgent brunch or a fabulous finish to any meal.
Creative Ways to Present
For a fun twist, sandwich the ice cream between two cookies for a DIY ice cream sandwich, or dollop it into mini waffle cones and let everyone top their own. Mold it into popsicles for a retro summer treat, or serve in stylish glass jars with layers of berries or cake for easy, elegant parfaits.
Make Ahead and Storage
Storing Leftovers
To keep your No Churn Vanilla Ice Cream as fresh as possible, transfer any leftovers to an airtight container and press a piece of parchment or plastic wrap directly onto the surface before sealing. This keeps it creamy and helps prevent freezer burn or ice crystals.
Freezing
This homemade treat stays at its best for up to 2 weeks in the freezer, though I dare you to make it last that long! For optimal texture, avoid frequent thawing and re-freezing—scoop only what you plan to serve each time.
Reheating
No reheating required—just let the No Churn Vanilla Ice Cream sit at room temperature for 5–10 minutes if it’s very firm. This softens it perfectly, making scooping a breeze and returning all that luxurious creaminess.
FAQs
-
Can I use vanilla extract instead of vanilla bean paste?
Absolutely! While vanilla bean paste gives beautiful flecks and a deep flavor, pure vanilla extract works well in its place. Just use the same amount—your No Churn Vanilla Ice Cream will still be deliciously vanilla-forward.
-
Why is my ice cream icy instead of creamy?
If ice crystals have formed, it’s usually because the mixture wasn’t covered tightly or there was too much water content. Using full-fat cream, cream cheese, and a touch of corn syrup helps keep your No Churn Vanilla Ice Cream velvety smooth.
-
Can I double or halve the recipe?
Definitely! This recipe doubles or halves easily—just make sure your bowls are large enough if you’re doubling, and still follow each step carefully for best results.
-
What other mix-ins work well with this ice cream?
The beauty of No Churn Vanilla Ice Cream is that it’s a blank canvas: try swirls of dulce de leche, chopped candies, nuts, or even a ripple of jam or peanut butter for something extra special.
Final Thoughts
If you’re longing for an easy, homemade treat that rivals your favorite scoop shop, this No Churn Vanilla Ice Cream is truly a summer (or anytime!) must-try. Give it a whirl—your future self, spoon in hand, will thank you for every dreamy bite.
Print
No Churn Vanilla Ice Cream Recipe
- Prep Time: 15 minutes
- Total Time: 6 hours 15 minutes
- Yield: 6 servings
- Category: Dessert
- Method: Freezing
- Cuisine: American
- Diet: Vegetarian
Description
Indulge in the creamy goodness of homemade no-churn vanilla ice cream. This simple recipe requires no fancy equipment and results in a luscious frozen treat that will delight your taste buds.
Ingredients
For the Vanilla Ice Cream:
- 2 1/4 cups cold heavy cream
- 1/2 cup sweetened condensed milk
- 1/2 cup evaporated milk
- 4 tbsp full-fat cream cheese, softened
- 2 tbsp vanilla bean paste
- 1 tbsp light corn syrup
- 1/2 tsp fine sea salt
Instructions
- Whip the Heavy Cream: In a large mixing bowl, whip the cold heavy cream to stiff peaks using a hand mixer or stand mixer. Set aside.
- Prepare the Vanilla Mixture: In another bowl, whisk softened cream cheese until smooth. Add sweetened condensed milk, evaporated milk, salt, vanilla bean paste, and corn syrup, whisking until smooth.
- Combine and Freeze: Gently fold the whipped cream into the vanilla mixture in 2–3 additions. Pour into a pan, cover, and freeze for at least 6 hours or overnight.
- Serve and Enjoy: Let the ice cream sit briefly at room temperature before scooping and store any leftovers in an airtight container.
Notes
- Let the ice cream sit at room temperature for 5–10 minutes before scooping if it’s too firm.
- Store in an airtight container for up to 2 weeks for best texture and flavor.
Nutrition
- Serving Size: 1 serving
- Calories: 320
- Sugar: 15g
- Sodium: 180mg
- Fat: 24g
- Saturated Fat: 15g
- Unsaturated Fat: 8g
- Trans Fat: 0g
- Carbohydrates: 22g
- Fiber: 0g
- Protein: 4g
- Cholesterol: 80mg
